Three Worlds, One Image: Leia's Scene

Making Of / 11 August 2022

It took me quite a while to come up with an approach to Leia’s scene but I finally had a clear idea I could get started on.

My thinking about these segments had started out more as adding some quick transitions/movements between the preliminary sketches and final art but, as I became more comfortable working with the Illustrator elements in After Effects, they had evolved into more conventional animated segments. They might still necessitate some more work to integrate into the larger fly-through I’m planning to do in Premiere but I really enjoyed creating these moments that could stand alone.

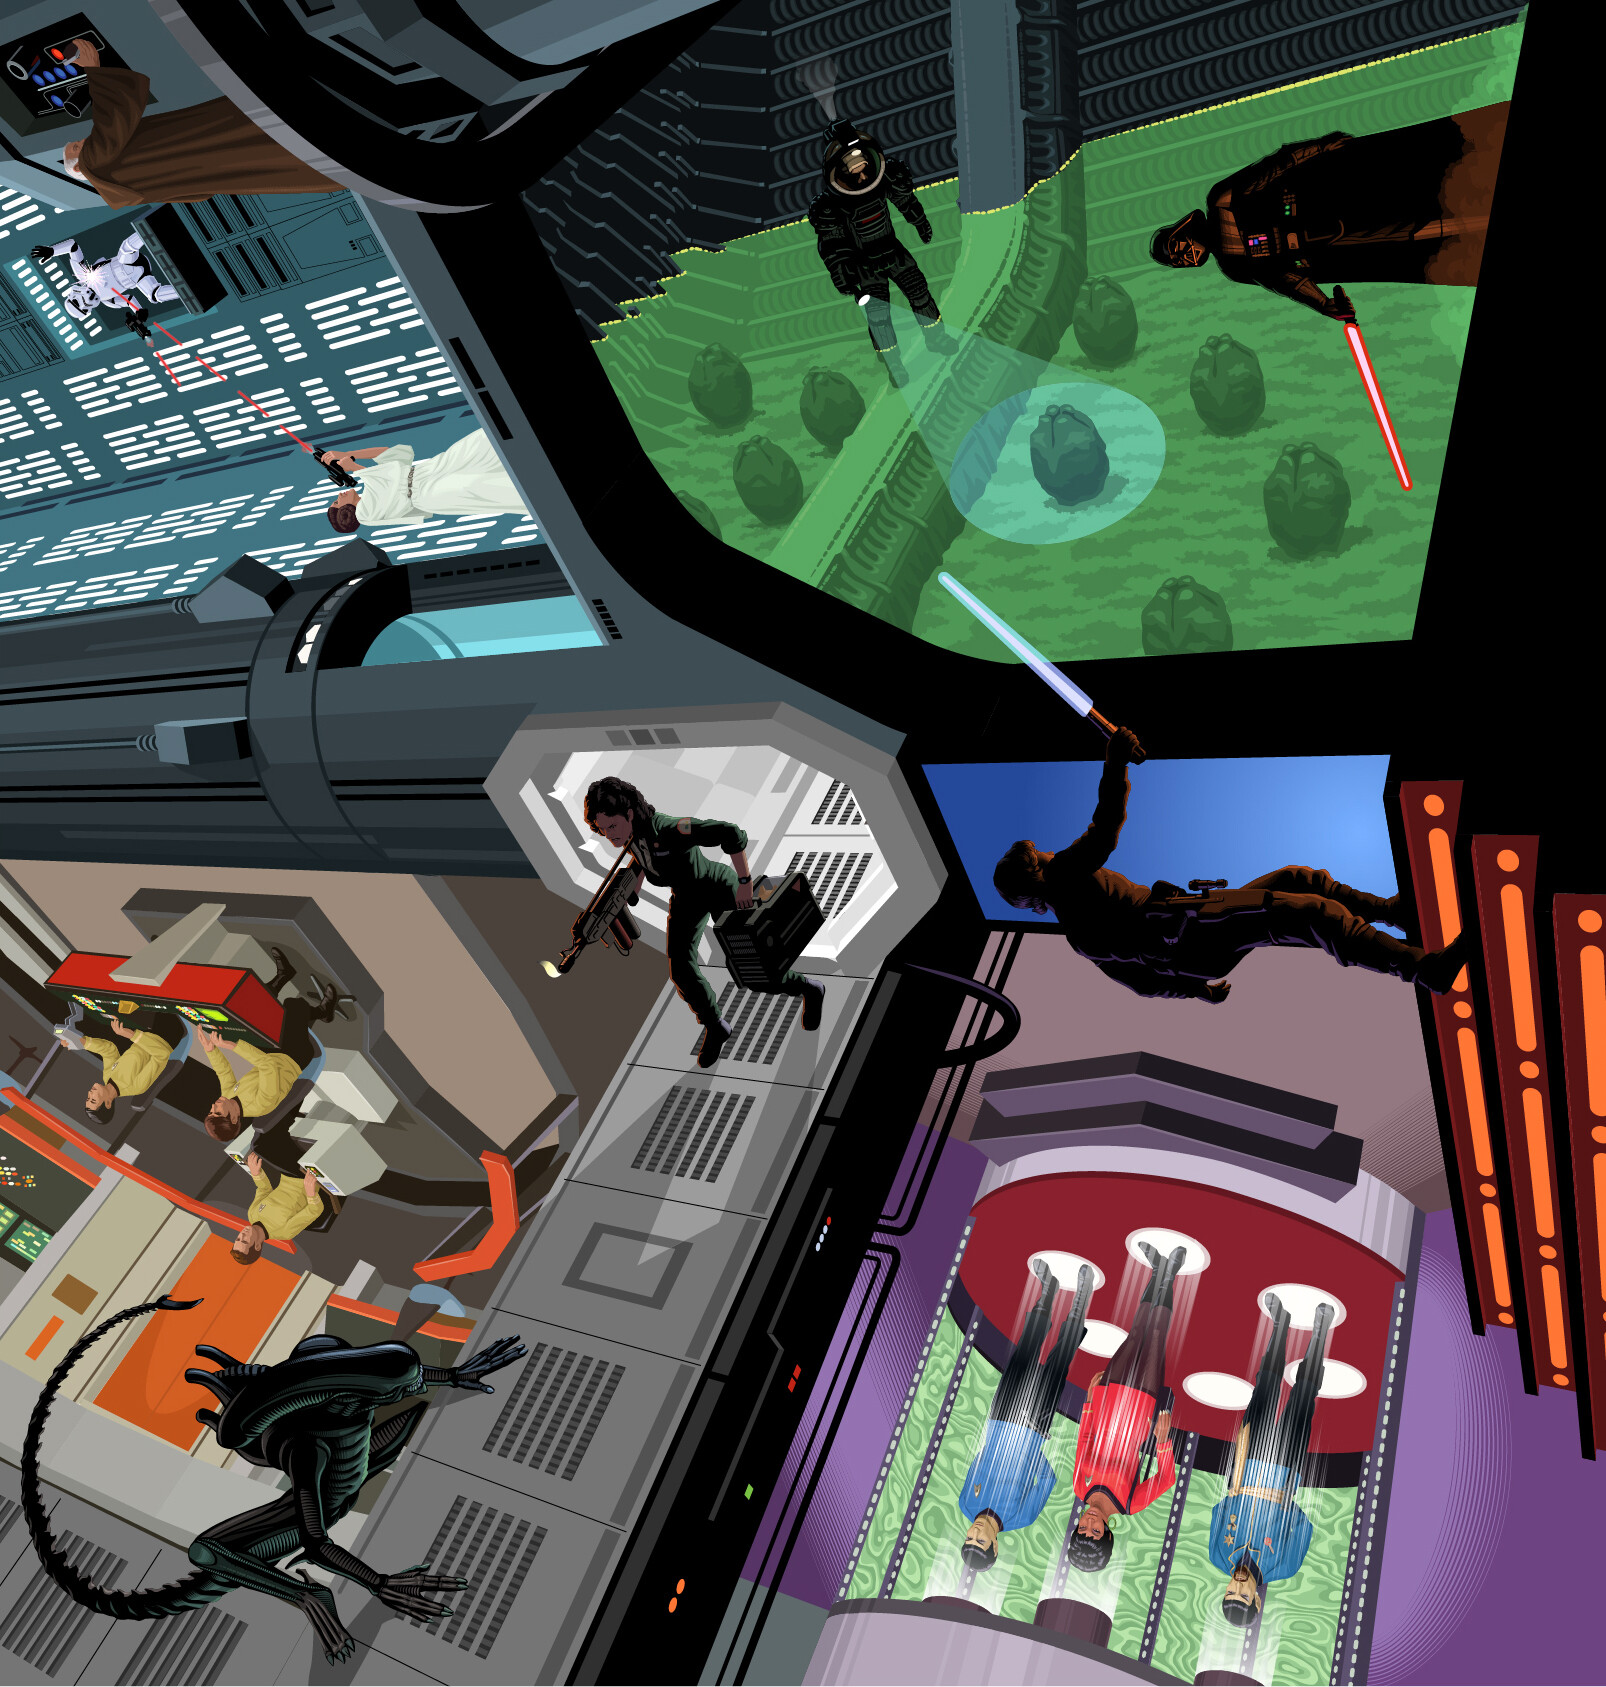
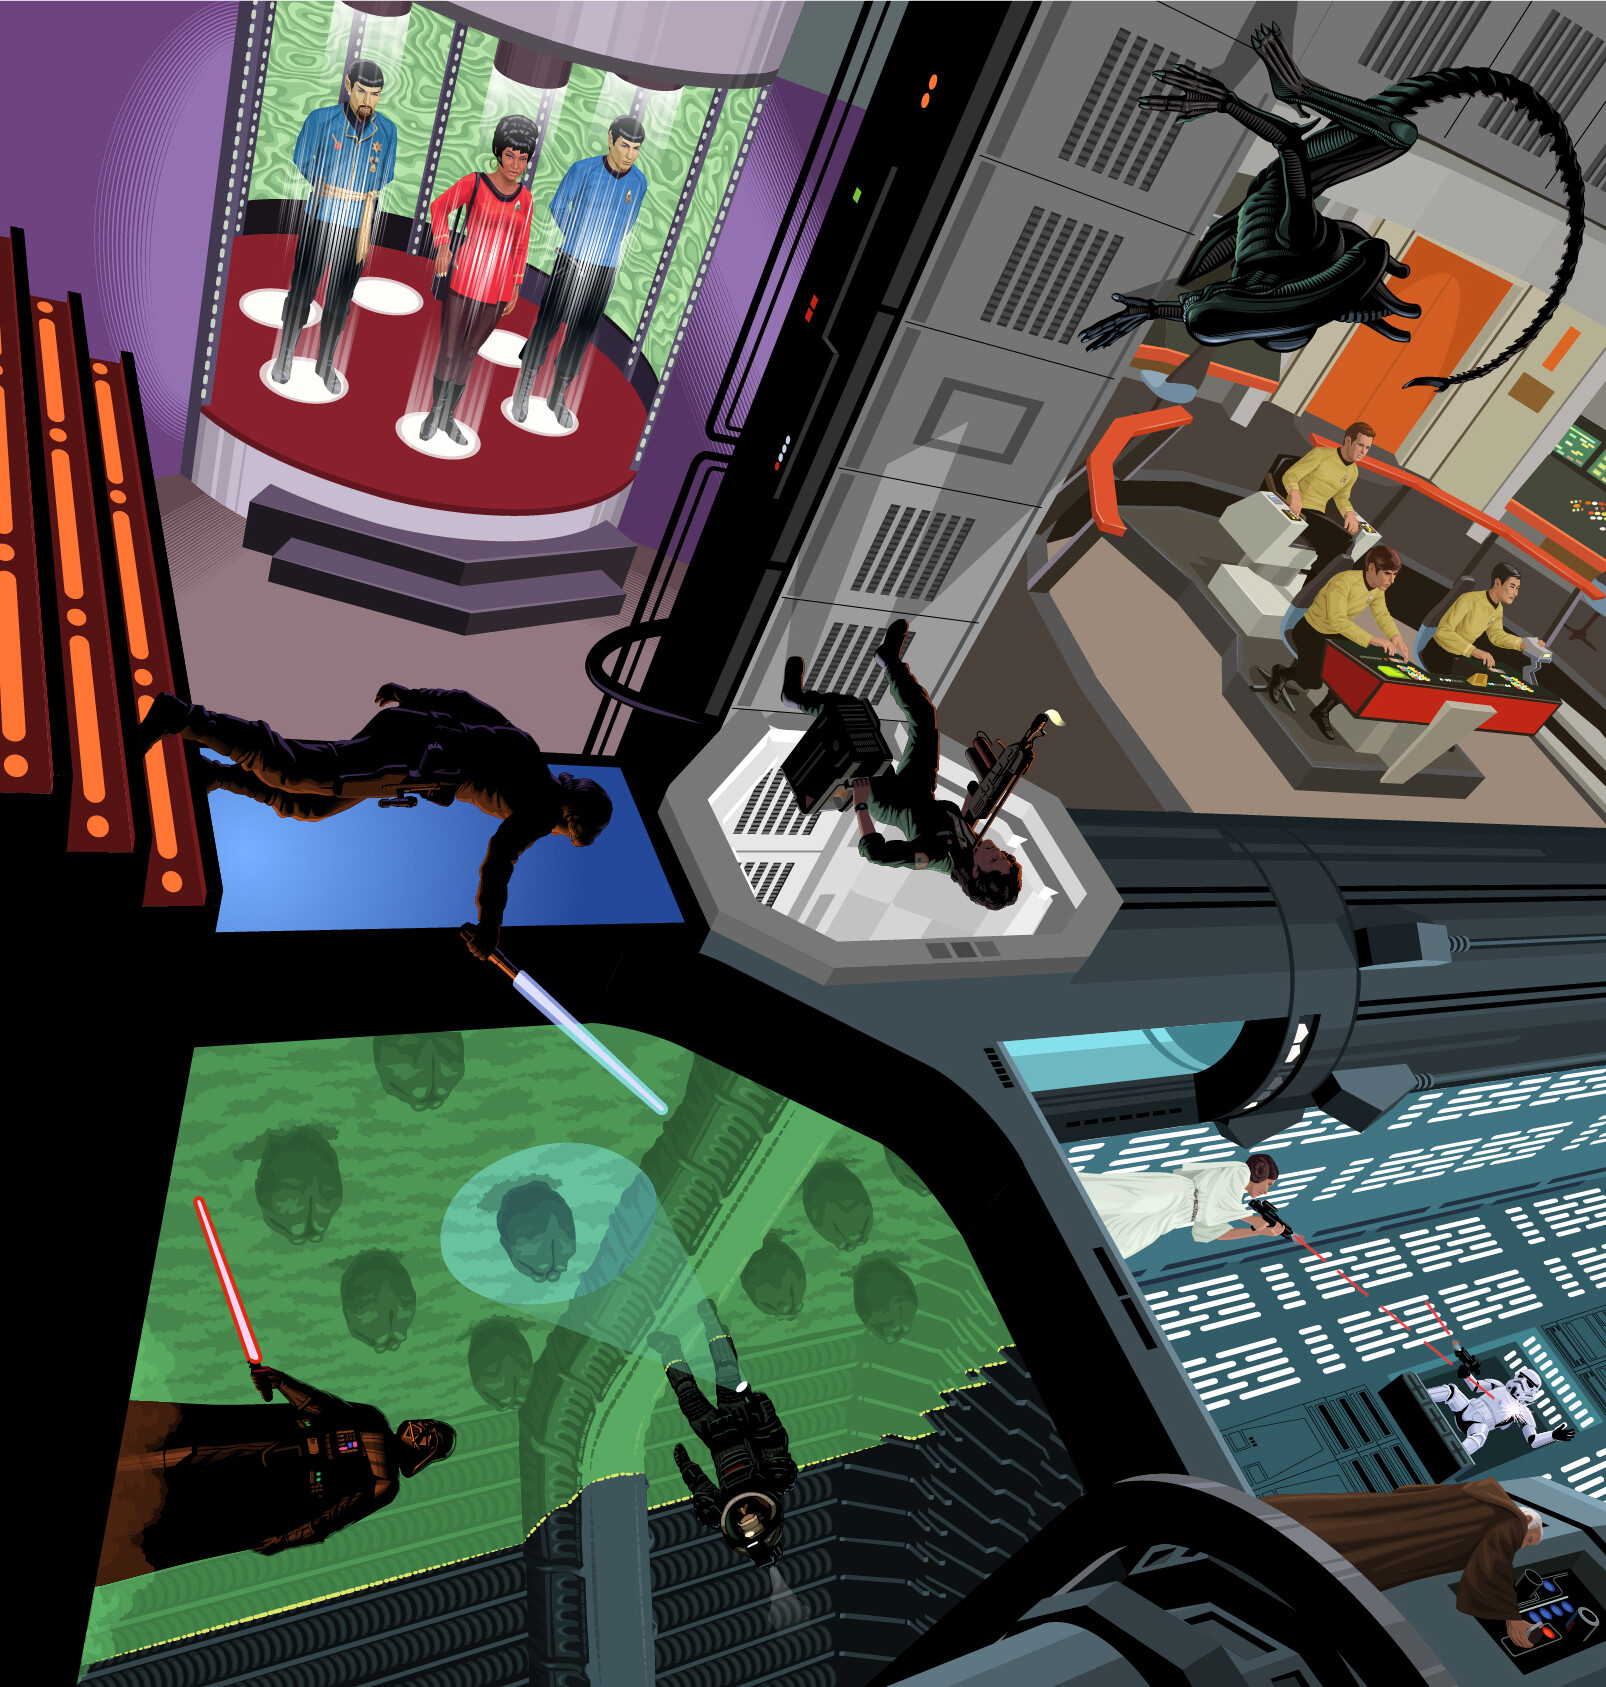
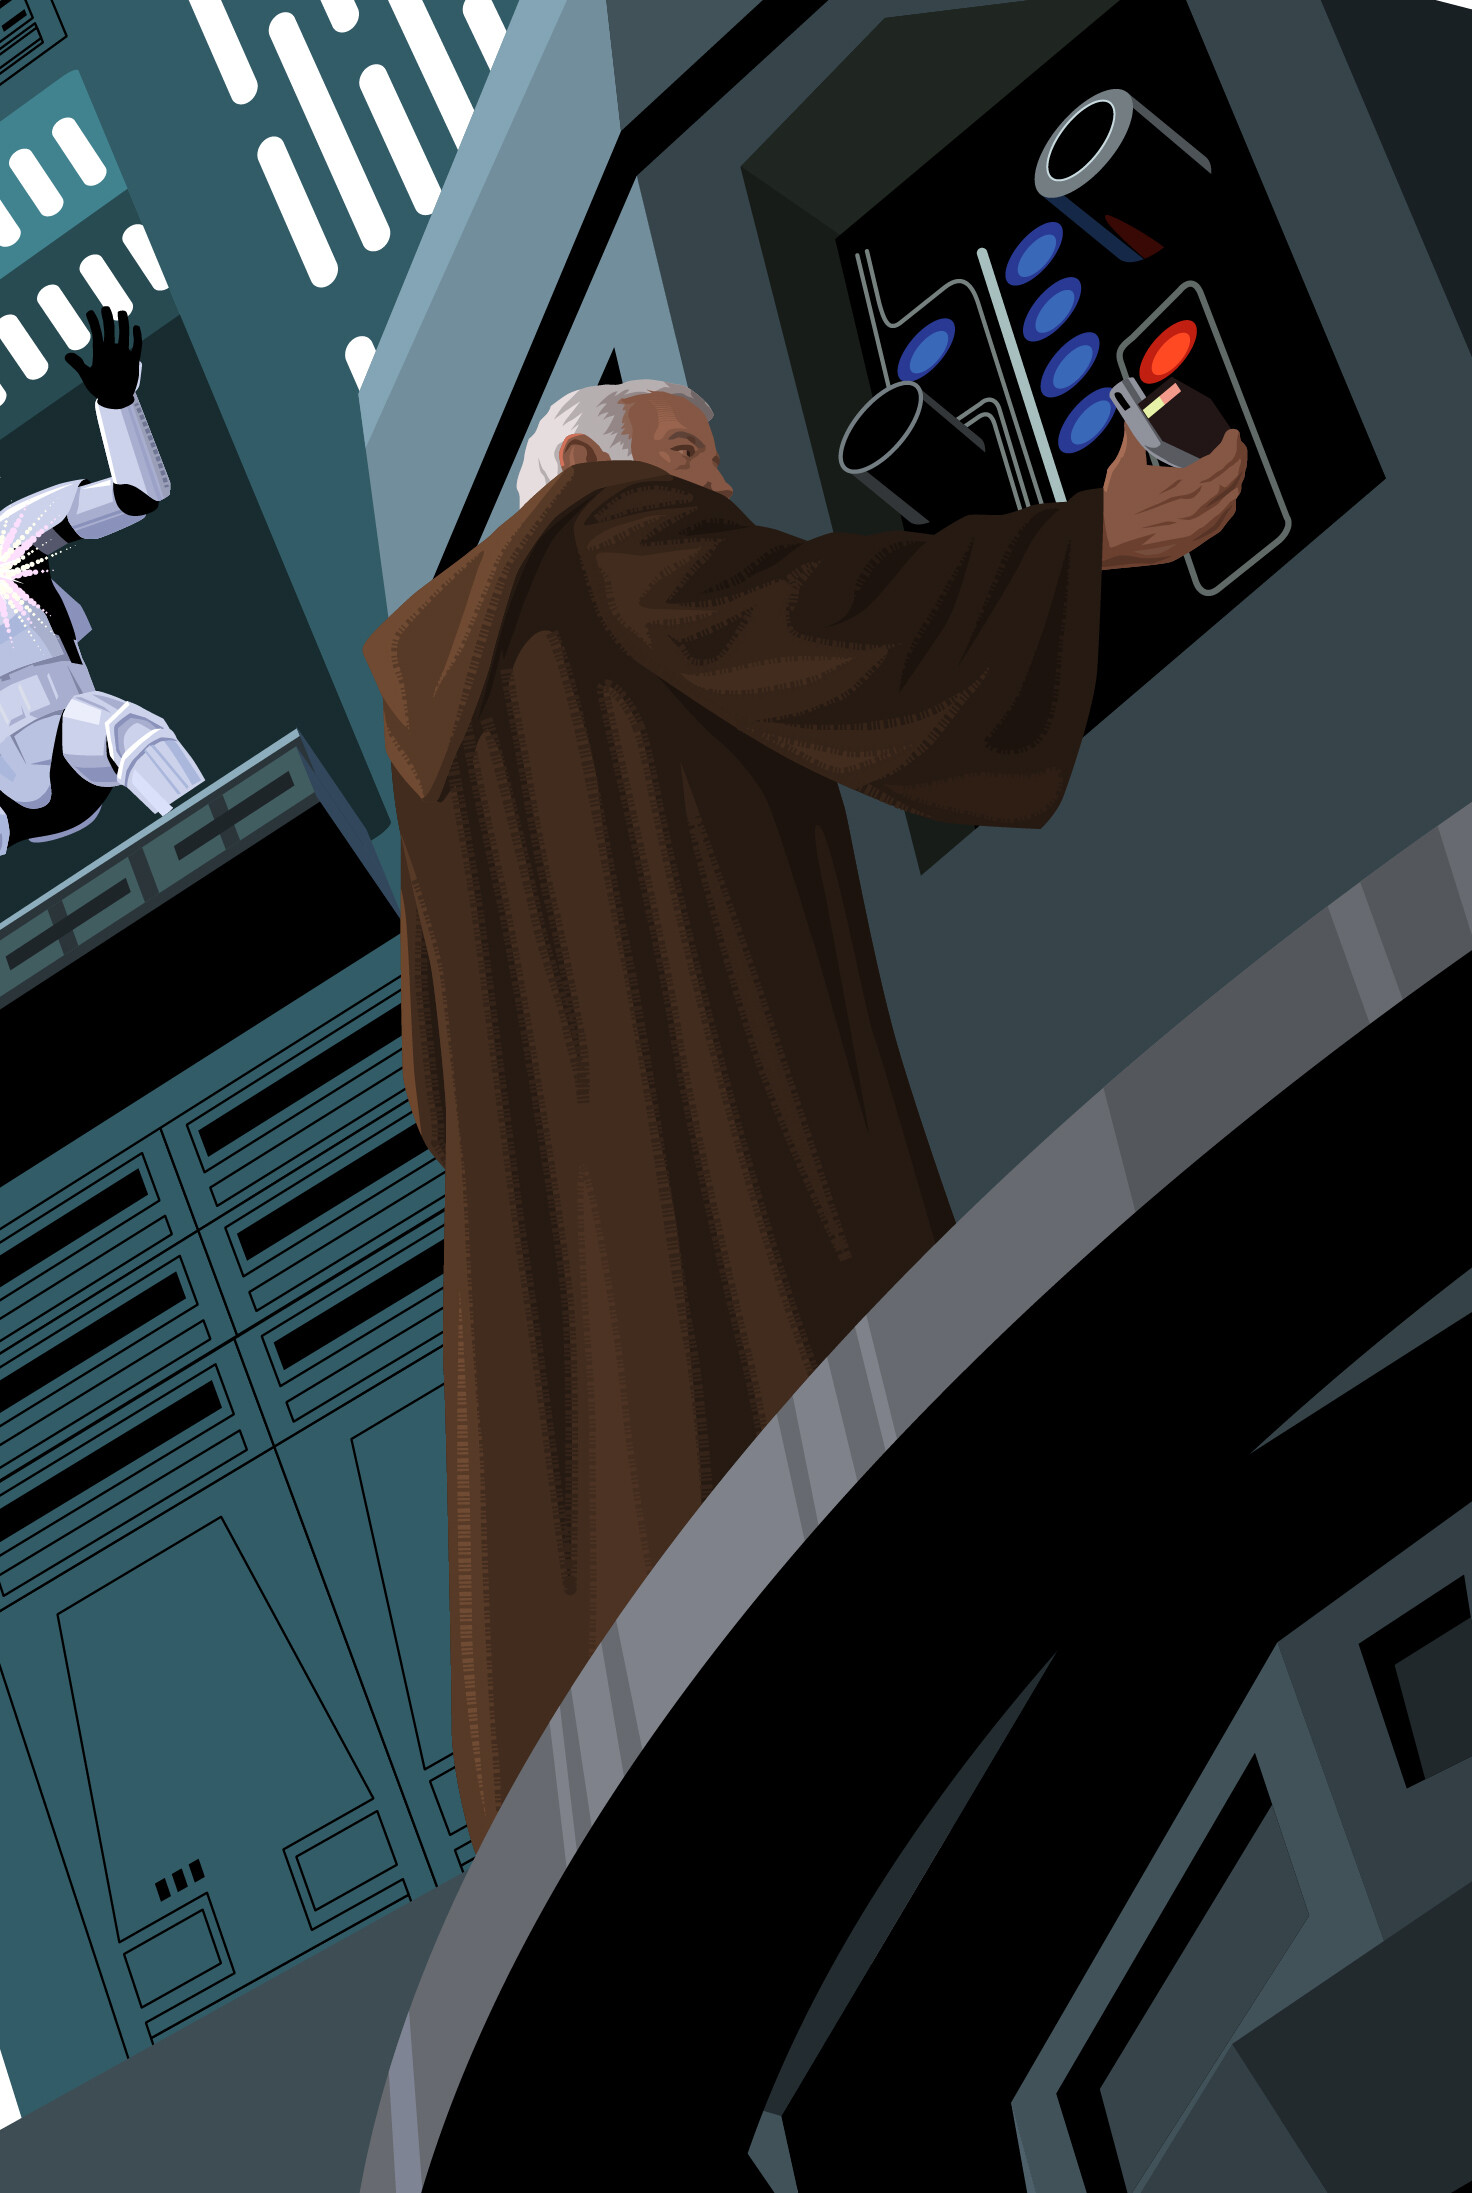
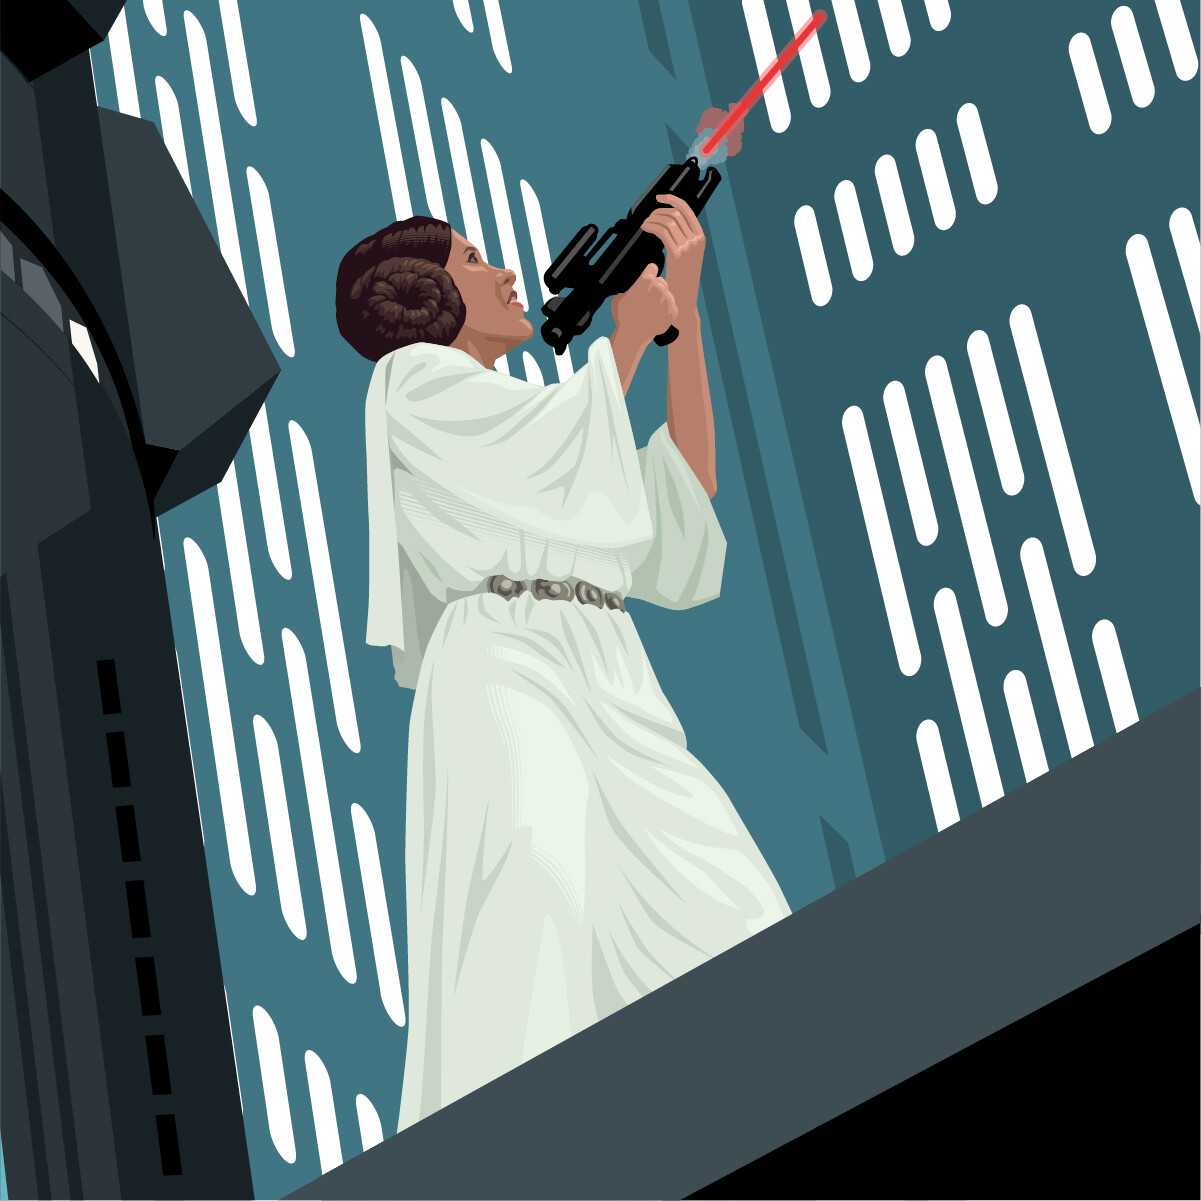
I had 3 characters left: Leia, Kenobi and the stormtrooper. Their placement in the original image seemed like a good place to start for the animation—they were arranged in a triangular composition within the larger image and it would be an easy thing to whip the camera around from right to left, ending on Leia shooting up the Death Star.

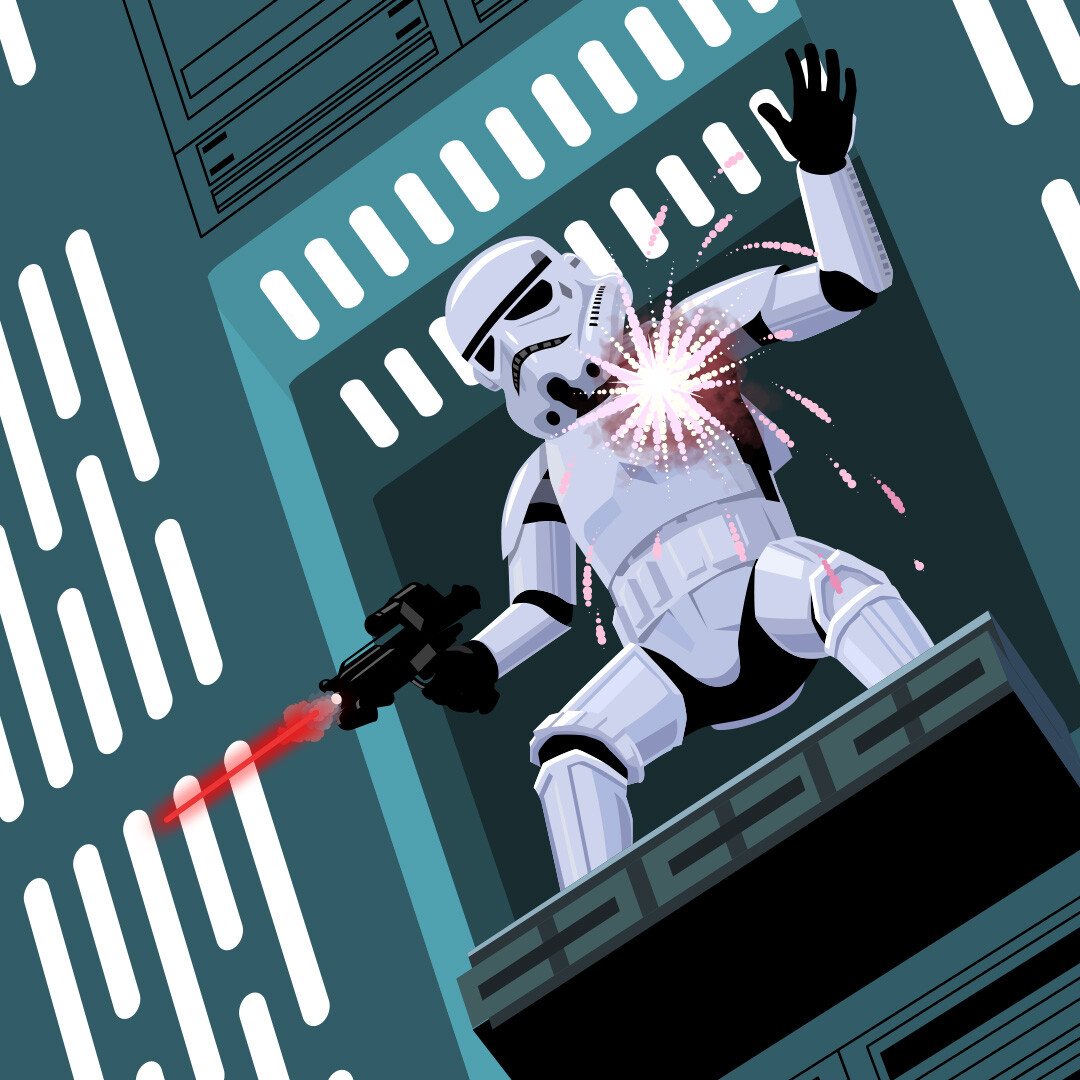
There wasn’t going to be much movement for Kenobi—he’s trying to be as inconspicuous as possible, so getting his right arm to push the tractor beam lever down was all he was going to need. The stormtrooper was in a bit of an awkward position. I’d originally intended to show him actually being hit by a shot from Leia’s blaster and the extreme perspective we’re seeing him from didn’t put any of his body parts in a position to be easily animated, but I added some blaster fire he could be shielding himself from before he came up shooting and the segmented armor made it easy to “parent-child” animate the parts of him that could move relatively believably. I was also able to add some recoil to the blaster shots—it always bothered me that the blasters in Star Wars never had any kick, so this project enabled me to add my own!


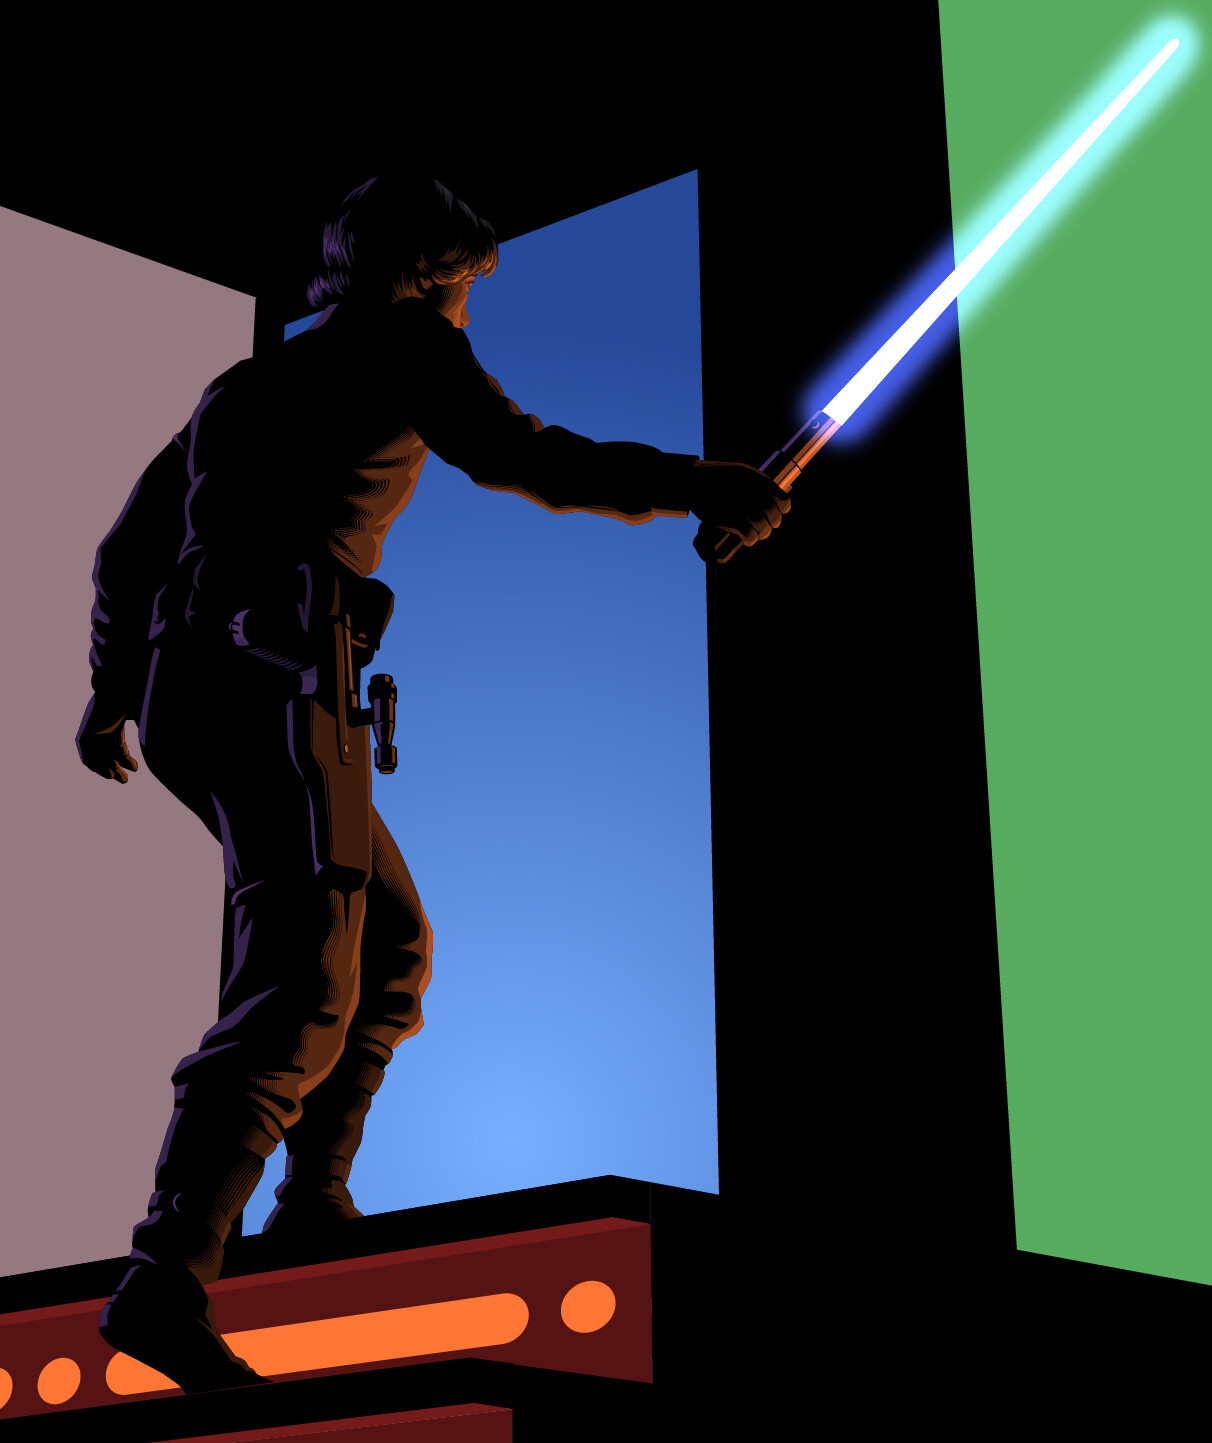
The big surprise came with animating Leia. I got the idea to have her start out shielding herself from the stormtrooper’s blaster fire and come up shooting back at him but was thinking I’d probably have to more fully animate her in Animate rather than just use the original art from the Illustrator image. I’d been pretty impressed with the organic movement I was getting out of After Effects’ puppet pins, though, so I figured I’d give them a try first just to see what I could get out of them.

It turns out the puppet pins were all I needed and I didn’t even need many of them. I managed to start her out in a defensive crouch she could come out of very organically and shoot the blaster with some movement on the ends of her flowing sleeves and that little cape they decided to give her.

I managed to add a little life to all the characters in the image and now it’s a matter of getting them all together in the Premiere fly-through. Stay tuned!


Report

Three Worlds, One Image: Kane In The Egg Chamber Cinemagraph

Making Of / 04 August 2022

I continued to rack my brains as to how to handle Leia’s cinemagraph but I could quickly get the cinemagraph of Kane in the Alien Egg Chamber over the finish line with relatively little trouble. The heavy lifting had already been accomplished when I’d been able to figure out a good solution for the laser smoke surface effect over the eggs when I was working on the background for Vader’s cinemagraph, so it was simply a matter of importing the precomp from that project over to this one.

Since Kane, in his bulky spacesuit, was carefully balancing on the girder/platform, he couldn’t have much movement apart from moving his flashlight around to look at the eggs. I puppet pinned his arms to give him a little life and moved his head from side to side, but the main challenge for this one ended up being trying to match the circle of light the flashlight is throwing on the laser smoke layer to his hand movements.

I ended up being able to use the video footage of the rising smoke that I’d used previously in Vader’s and Luke’s cinemagraphs once again, this time masking it off and fading it in and out in a breathing rhythm for the exhaust trail that comes out of the back of his helmet.


To make it a little more dramatic and scary, I darkened the background and vignetted the entire comp to give it a haunted house kind of feel. 

Now I had no choice to but deal with Leia’s cinemagraph! Thinking about the way I added Vader to Luke’s cinemagraph gave me the idea I should include Kenobi and the stormtrooper as well to reallytell a story. That was the idea I needed.


Report

Three Worlds, One Image: Ripley/Alien Cinemagraph

Making Of / 28 July 2022

After finishing Luke’s big showdown with Vader, the logical next step seemed to be Leia’s cinemagraph but I didn’t have a very clear conception of the way I wanted to approach it. Adding a narrative element with including Vader in Luke’s cinemagraph changed the way I’d initially thought about making them. I had started out with the Star Trek bridge primarily using the motion graphics to create a “before and after” transition from the initial sketches to the final art but now I was thinking more along the lines of using the finished art I had as separate elements that could be repurposed into creating stories and situations that didn’t necessarily appear in the original image.

The next idea that developed from this approach was using the Alien and Ripley together in a new space that would be more true to the original film. Since I was using the original art of the characters from the perspective it was created, I was probably going to have to take some liberties with piecing elements of the Nostromo together to fit them to their relative positions.

I went back to Blender to create a new Nostromo background. I liked the idea of using the Nostromo’s ladder openings between decks as a good place for the Alien to be climbing out of and the tunnel Ripley was walking out from already worked. I used an image of the characters I had as a reference in Blender and fit the new geometry around them.

I wanted to get the Alien’s tail to really move, so discovering the DUIK Bassel plug-in for After Effects was a godsend. It enabled me to quickly rig up the Illustrator art I already had within After Effects and create the whip-like tail motion by rotating one bone.

After spending some time searching for footage of a flame thrower online, I realized a real-life flamethrower flame wouldn’t fit stylistically with the rest of the art. I decided to use Blender’s particle systems to create a a flamethrower flame, which would give me the ability to texture it in a way that would integrate into the rest of the art.


I wasn’t satisfied with the look of my first attempt but it did help me to work out the coordination of the flame effect with the quick camera movement between the characters. I definitely needed to strengthen the flame and lengthen it so it would give the Alien something to scream about.

Rendering the flame at a lower sample rate actually helped to make it “fit” with the stylization of the art.

I still wasn’t too sure about how to handle the Leia cinemagraph, so I figured I’d go on to Kane in the egg chamber. The primary problem of the laser smoke effect over the eggs had already been solved by doing the Vader cinemagraph so I was confident I could get it done without any major problems.

Report

Three Worlds, One Image: Luke Cinemagraph

Making Of / 21 July 2022

I was happy with the way the Vader’s cinemagraph turned out but getting started on adding animated elements to Luke proved to be a challenge. While Vader was in more of a passive, defensive posture, Luke’s pose going up the stairs felt a lot more like a moment frozen in time, where I would have to completely animate the step he’s taking for any movement to make sense. This wasn’t insurmountable but it wasn’t in keeping with the touches of movement I’d added to the other characters in the image.

I then came upon the idea of adding Vader to Luke’s cinemagraph. Vader’s presence would give Luke a visual reason to hesitate at the top of the stairs. I simply imported Vader and scaled him down to fit in with the scene.

The confrontation added some drama but Luke still seemed to be waiting too long for no particular reason to take that step (amazing how getting an image moving can completely change the functions it has to serve.) I imported the footage of the smoke that I had used for Vader’s cinemagraph and reversed the playback so that it would diminish to reveal Vader. This served two purposes, serving to add even more drama and providing a reason for Luke’s uncertainty about moving forward. 

I was thinking I might still need to more fully animate Luke’s foot raising from the step and his right arm raising with the lightsaber (his elbow was in a position that made bending it impossible with puppet pins) but adding the extra dramatic elements made a little motion go a long way.

How I was going to handle Leia’s cinemagraph wasn’t immediately coming clear to me, so I decided to get started on Ripley’s cinemagraph instead.


Report

Three Worlds, One Image: Vader Cinemagraph

Making Of / 14 July 2022

I decided to start off adding some After Effects animation to the Star Wars characters with Vader, though it didn’t really have much to do with him. One of the things I still hadn’t grappled with in the original still image was the “laser light over smoke” effect that was used in the egg chamber in Alien. I was hoping I would be able to figure out a way to reproduce that effect (or at leas get close to it) in After Effects and then take that solution back into Illustrator to create a stylized, vector version of it.

Since Vader was essentially being backdropped by a scene from another movie, it would give me two chances to come up with a solution to the same area of the image. Vader was a good place to start: even if what I came up with crashed and burned, it could still serve as a workable background since he wasn’t interacting with what was behind him in any way.

I ended up being really happy with what I came up with—the effect seemed to integrate well with the Illustrator art.

As far as adding animation to Vader himself was concerned, I didn’t want to get too elaborate—the moment in the film I wanted to capture was right before his big showdown with Luke, where he is very still and passive, wanting to draw Luke into a trap. Just a flick of his wrist to activate his lightsaber and a slight movement in his cape was all it felt like it needed.


I had added some smoke near Vader’s feet in the original image but had wanted to keep it relatively subdued—too much interaction between the smoke and the Alien background was going to obscure what was going on “on another axis” and potentially muddy up the colors for both areas. Being able to get the smoke to move freed me from that concern.

I found a great video clip of smoke on envato.com and posterized it a bit to get it to blend well with the rest of the image. It only took a little masking and color correction to get it to look like it belonged with everything else. 

The combination of Vader with the Alien background ended up being a pleasant surprise for me. I would never have thought of combining them if I hadn’t been working on this project but I loved the result.

Now it was time to get started on the other guy in the showdown.

Report

Three Worlds, One Image: Star Trek Transporter Cinemagraph

Making Of / 07 July 2022

When I first decided to create an animated fly-though of the image in After Effects, the sequence I was most looking forward to working on was the Star Trek transporter. The original beaming effect is exactly the kind of thing After Effects excels at doing and the stylization I’d used for it in the still image was the biggest departure from the original material, so it was going to be nice to add a touch that could be more in line with the original effect once I got everything moving.

I thought it would also be a great opportunity to add some storytelling. Rather than have Spock, Uhura and Mirror Spock all beam in simultaneously, I figured it would be more in keeping with the original Mirror Spock story to keep him fading in and out, like there was a glitch in the transporter (or the multiverse.)


One of the great things about using vector art from Illustrator in After Effects is that everything essentially comes in “pre-masked” as long as you put everything on the right layers. I was able to create multiple copies of a single particle effect and mask them off on each character  in a couple of minutes. 

I was able to add some animation to all of the Star Trek characters in two motion graphics. Next up was going to be to add some life to the characters from Star Wars.

Report

Thee Worlds, One Image: Star Trek Bridge Cinemagraph

Making Of / 30 June 2022

I’d finally come up with a more-or-less final image and was really happy with the way it came out, but I was then faced with the challenge of figuring out the best way to present it online.

I came up with the idea of an animated “fly-through” to take the viewer into the details of each area of the image but I didn’t want it to simply be a “pan and zoom” approach. I wanted to add some animation and visual effects to each area to bring them alive.

The original image being vector art I’d created in Adobe Illustrator gave me a lot of options in the way I could use the source material in Photoshop, Animate and, especially, After Effects—each background and character were already isolated on their own layers, so getting them ready to use them in After Effects or Animate was as simple as hitting “Import”.

I figured I’d start out with the Star Trek bridge. My initial idea was to create a dissolve between the initial sketch and the final art with some effects to make the transition interesting. Making stuff like glowing energy beams moving at a million miles an hour is right in After Effects’ wheelhouse so I was able to come up with something I liked pretty quickly.


I wanted to give the characters some life by animating their arms and heads with puppet pin animation. I was keeping the idea of doing some full-on animation in Animate in the back of my mind if the puppet pin animation didn’t work out but it turned out to be all I needed. I didn’t want to depart too far from the material in the image because that was still the main thing I wanted to feature.

The next project was to make the Transporter Room actually beam somebody up!

Report

Three Worlds, One Image: The Final Image (Version One)

Making Of / 23 June 2022

All the pieces were done; now it was just a matter of putting them all together.

There is definitely a bias in favor of the original orientation of the perspective grid (with the Star Wars axis being the “ground floor”) but it’s still fun to spin it around and see if it from the viewpoint of the other two horizon lines.

Alien Axis

Star Trek Axis

I was satisfied with the way it had come out but I was now faced with the challenge of the best way to present it. It was always intended as a “portfolio piece”—there was no way I could ever do anything with it commercially so it was limited to only being seen online—but it wasn’t the kind of image I could just post to social media as-is: the level of detail required a lot of zooming in and out to get any idea of what’s really going on.

I decided to create an animated “fly-through” in After Effects to dive into each area. That idea immediately led me to think of the ways the characters could be animated, VFX could be added to elements like Leia’s blaster and the lightsabers, and the preliminary sketches could be combined and morphed into the finished art. 

The final version of the project ended up spawning a multitude of new projects in After Effects. It was time to get started on some animation to bring it to life.


Report

Three Worlds, One Image: Final Star Trek Character Art

Making Of / 16 June 2022

The stylization I was using worked well with the figures up to this point. Since so many of them were almost in silhouette, adding a few isolated patches of light around their edges were all they’d needed to give them some volume. Leia and the stormtrooper had been the only light-on-light figures and they’d given me some clues as to how to approach the characters from Star Trek.

Star Trek’s original production design had essentially solved all my problems for me because the vibrant colors and iconic designs of the uniforms and sets lent themselves to a graphic treatment. As far as the figures were concerned, I was starting out with sketches I liked so I felt confident I could capture passable likenesses of all the characters. The big question I had was how I was going to approach creating the transporter effect in a stylized, graphic way.

My first attempt was to try to reproduce the look of the original effect, which used backlit aluminum powder shot upside down. It completely fizzled—they looked like they were wearing weird leggings.

I decided to try something more emphatically linear—maybe not as accurate or in keeping with the effect of the original show but something that looked better-suited to the image. Some tapering, transparent lines  still seemed to give the impression of “beaming up” while emphasizing the underlying linear perspective. The groovy lava lamp background would be  a nice balance to the Alien egg chamber on the other side of the image once I got everything in place.

The bridge was relatively straightforward, a mass of tiny details and concentric rings in perspective. The most awkward thing about it was giving Chekov enough room to sit at his position, but that seemed to be i keeping with the original show—most of the reference I studied showed his chair barely staying on the platform.

I was in the home stretch! Most of the heavy lifting had been done and it was now a matter of getting everything together and adding the finishing touches.

Report

Three Worlds, One Image: Final Star Wars Character Art

Making Of / 09 June 2022

Creating the final art for the Alien characters really helped to clarify the approach I was going to take for the rest of the figures, especially for Luke and Vader: they were going to be primarily in silhouette, so I knew the same kind of modeling I’d used on the Alien would work on them, the only difference being that the light was going to be orange rather than the green I’d used for the Alien characters. 

There were a number of different ways I could handle the effect for the lightsabers but I wanted to make sure they integrated well with the overall design of the rest of the image. I could easily make a subtle glow effect in Photoshop that looked like it came out fo the film but it would look out of place with the graphic look of the rest of the image. I ended up using Photoshop to create a “hard light” glow (pictured) that I could use as a color reference for the final art in Illustrator. I was able to create a lightsaber effect that fit well in the image using just three or four colors with no need for blends or gradients.


I really wanted to keep everything as dark as possible on Vader, but loved being able to add the lights on all his “machinery”—they keep the figure from flattening out by implying all the underlying stuff without having to actually show it.

Filling in the detail on the tractor beam tower ended up being a challenge because there were a lot of buttons and sci-fi doodads that come off diagonal surfaces that had to be drawn from an extremely low horizon line. I went back into Blender and added some simple cylinders and spheres where they needed to, then brought it back into Illustrator to flesh out.

Ben's robe gave me a great opportunity to use the staggered dash line technique I used to soften the edges of shadows and give some areas a graphic texture.


Leia and the stormtrooper gave me a new thing to think about—they were the first figures I was dealing with that weren’t going to be primarily silhouettes. To make it even more of a challenge, the background they’d be seen against was the most light-saturated area of the image. And they’re both wearing white. Creating the final art for them started to feel like the old joke about a blank sheet of paper really being a drawing of a polar bear in a snowstorm with its eyes closed.

I still had some opportunities to introduce some dark areas like the blasters they’re using, Leia’s hair (seeing her in profile gave me the chance to show more of it than I’d be able to with a more front-facing pose) and the black suit under the stormtrooper’s armor that could be seen at the joints. I tried adding a blaster hit to the stormtrooper in the large image but ended up removing it when I put him in place on the final image—the stylization made it look way too much like fireworks.

The experience visually problem-solving the light-on-light Star Wars characters helped me to start thinking of the way I would handle the Star Trek characters. The “TV lighting” of the Star Trek areas of the image was going to demand a lot more modeling than the predominantly dark-on-light figures I’d used from the movies.

Report