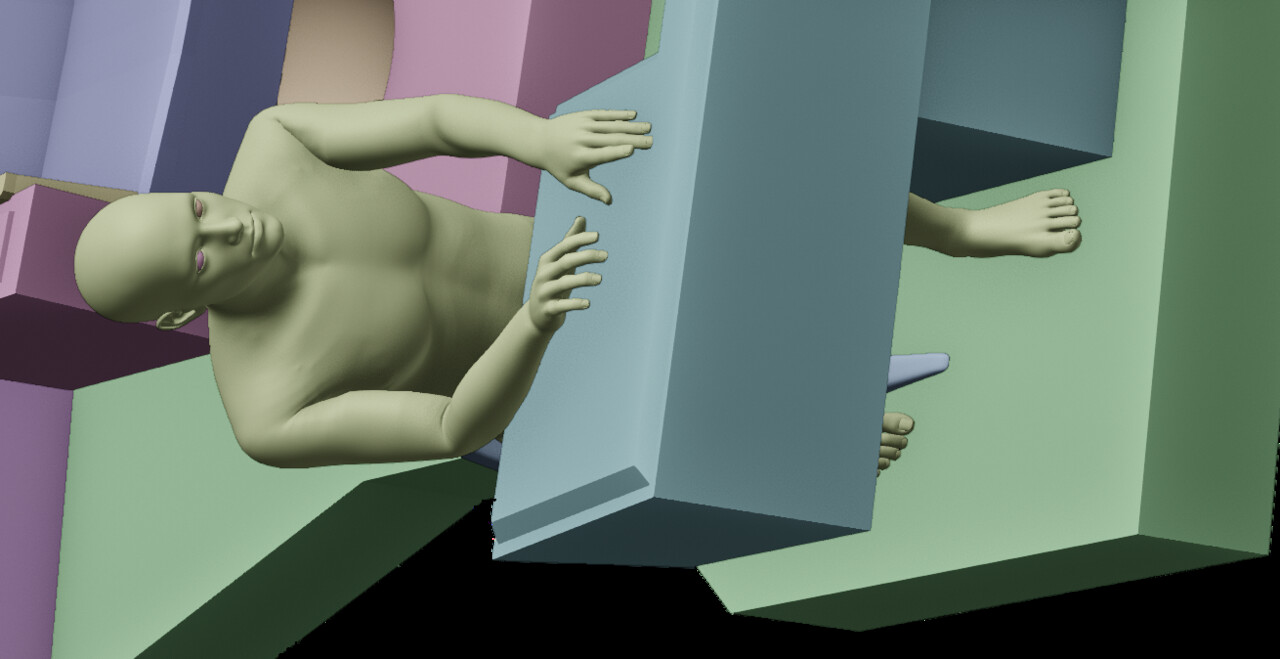
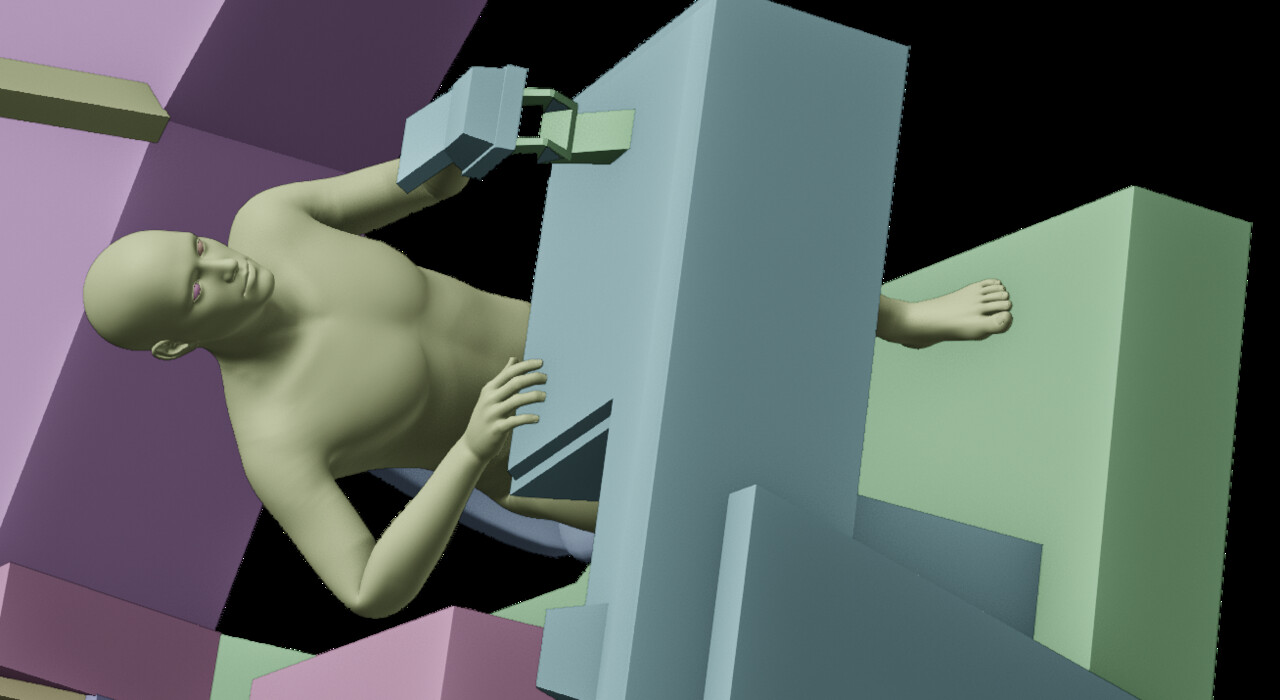
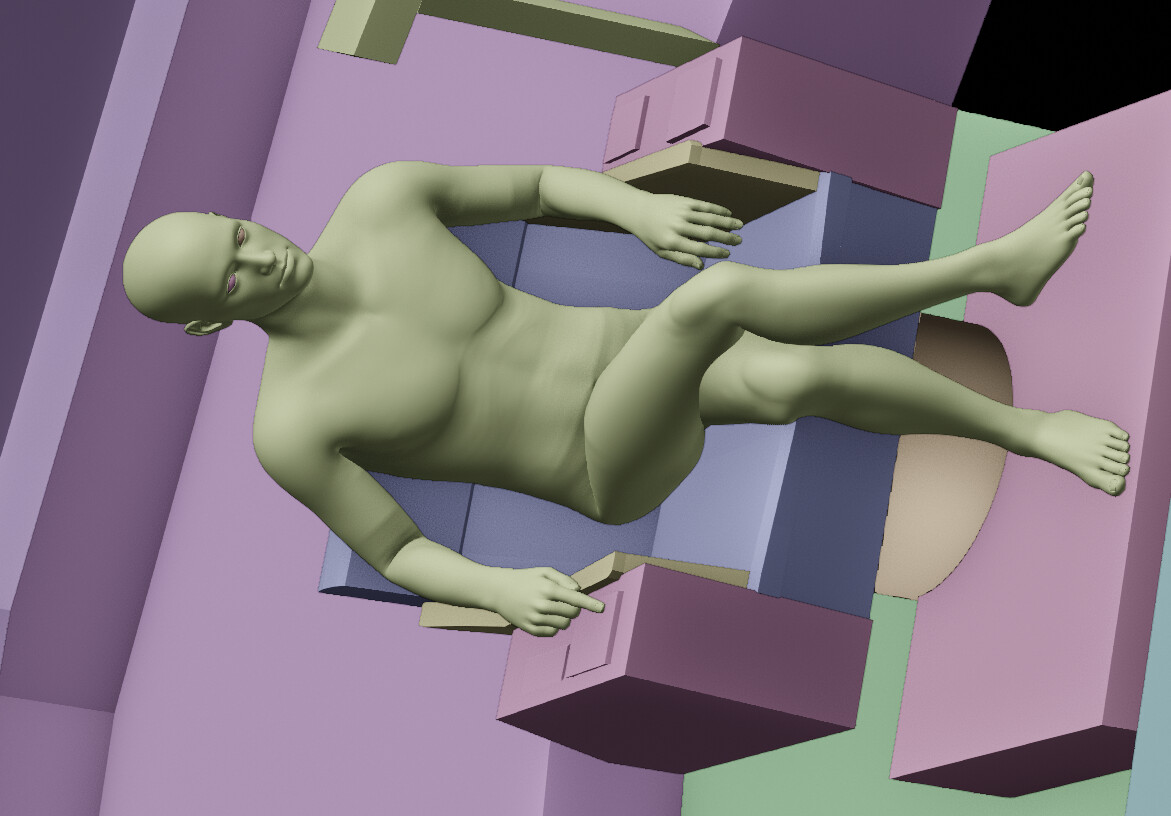
Discovering the fSpy add-on for a Blender was a huge step forward in being able to create 3D reference material. Now it was time to start making some quick figures in Blender that could be posed and placed in the correct positions so that I could draw everything in the correct perspective.
Most of the figures in the image were human (or at least humanoid) so importing a couple of basic male and female figure meshes from Daz 3D into Blender seemed like the easiest way to go. While Daz 3D and Blender are somewhat compatible, exporting a usable rig from Daz 3D into Blender ended up not being possible (it may be for PCs but not for Macs.)
My first idea was to pose each figure in Daz 3D and then export the resulting mesh into Blender for placement, but that ended up becoming too cumbersome—any change in the pose required me to completely retrace my steps and juggle between the two programs. The best option seemed to be to export a mesh from Daz 3D in the standard T pose into Blender and then create the rig from there.
One of the main benefits I’ve always received from working on personal projects, over and above the creative satisfaction I get from them, is that they have a great tendency to require me to learn something brand new or deepen my knowledge of something I’ve been only superficially familiar with beforehand. This project had already given me the chance to really get to know Illustrator’s perspective grid, a tool I’d used often on illustration assignments but in a very quick, obvious way. I was now going to have the chance to get into the nuts and bolts of using Blender’s Rigify armature to create rigs for these reference characters.
I’ve created all my own rigs for characters I’ve created in Blender from the ground up, adding each bone myself, and while I loved the control that approach gave me (and the understanding of exactly what the different layers of deform and mechanical bones do) it was always very tedious and time-consuming to create each rig from scratch. I’d played around with Rigify before but had never used it with any kind of focus or ever went in “under the hood” to see how everything worked together but the prospect of a usable rig being created automatically was something I was going to need to have for an image that was going to include 14 figures.
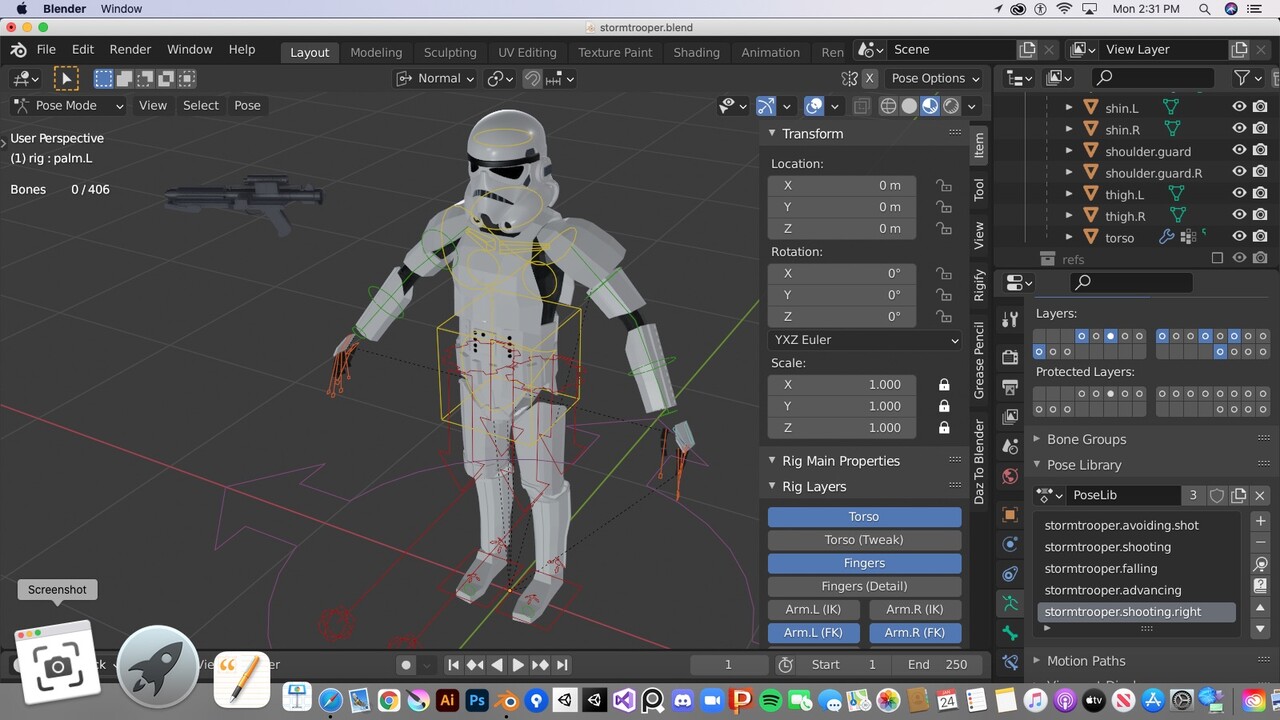
I lined up all the bones of Rigify’s metarig with the meshes I imported from Daz 3D and, with the exception of a tweak I had to make to how Blender was tracking the base bones of each finger, the rig it generated was everything I needed it to be—even the face rig worked well! This was an even bigger step in the right direction than discovering fSpy had been. With 2 base figures I was able to create reference poses for 10 of the 14 figures and have them placed in the correct place in the image, in the correct position, as easily as it was for me to think of them.
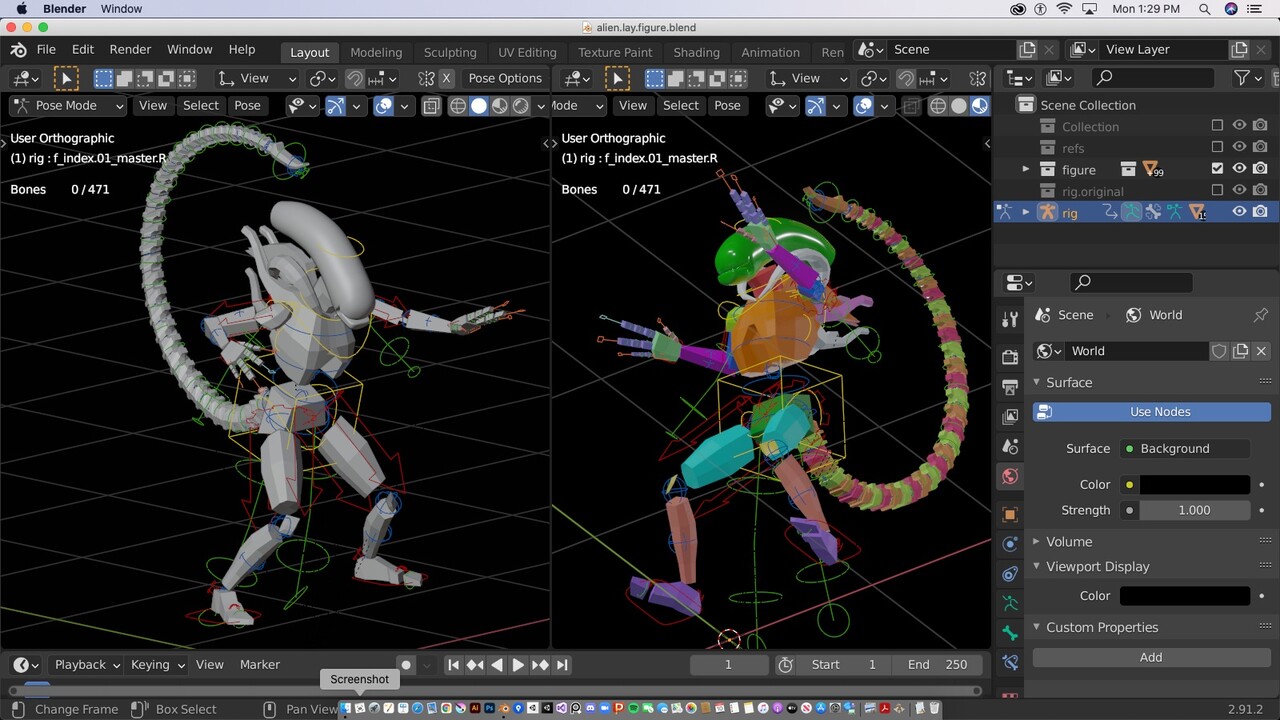
The next challenge was to create meshes for the characters that had a little too much going on for the standard male and female base meshes I imported from Daz 3D. The xenomorph from Alien was the most obviously non-humanoid character I was going to be dealing with, but the spacesuit Kane is wearing in Alien was also too complex to simply “draw around” a base figure. The same was true for Darth Vader and a stormtrooper from Star Wars—their helmets alone were going to require some work to get them looking right.
There were also a number of props that I wanted to include, most notably the box Ripley from Alien carries Jones the cat in (as well as her flamethrower) so I needed to model some props as well as characters and integrate them into each rig so they could move around with the characters.
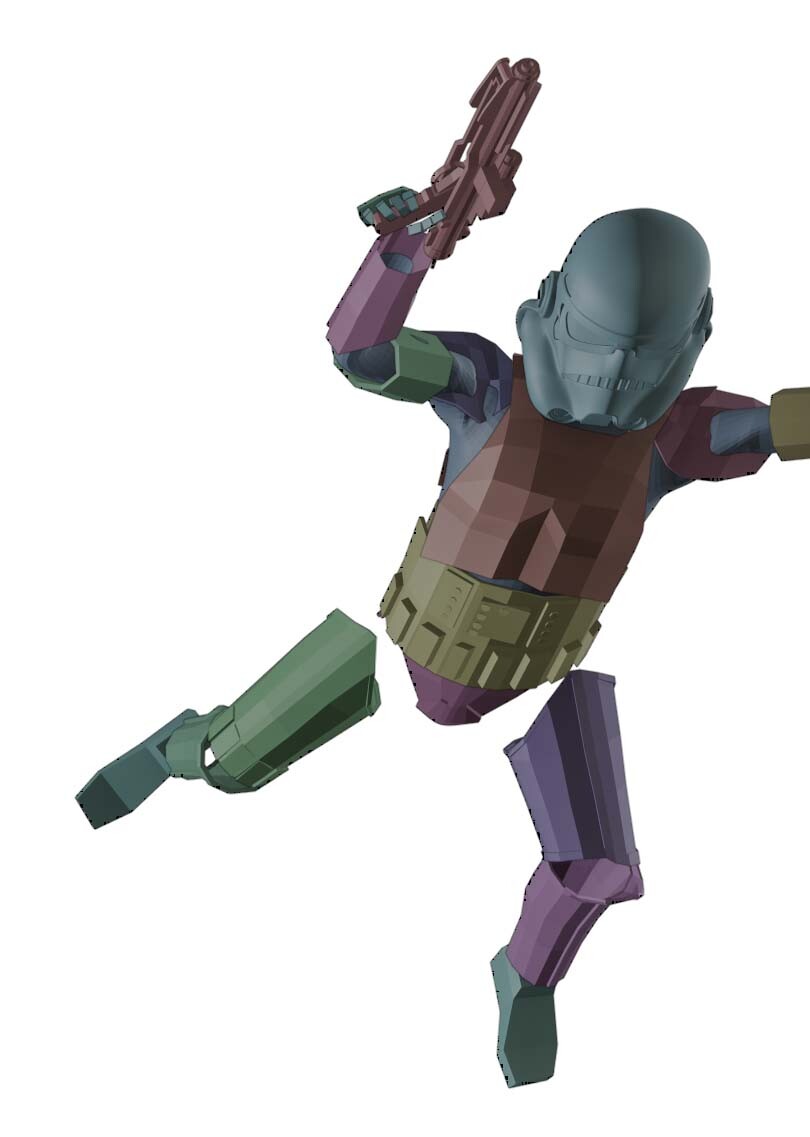
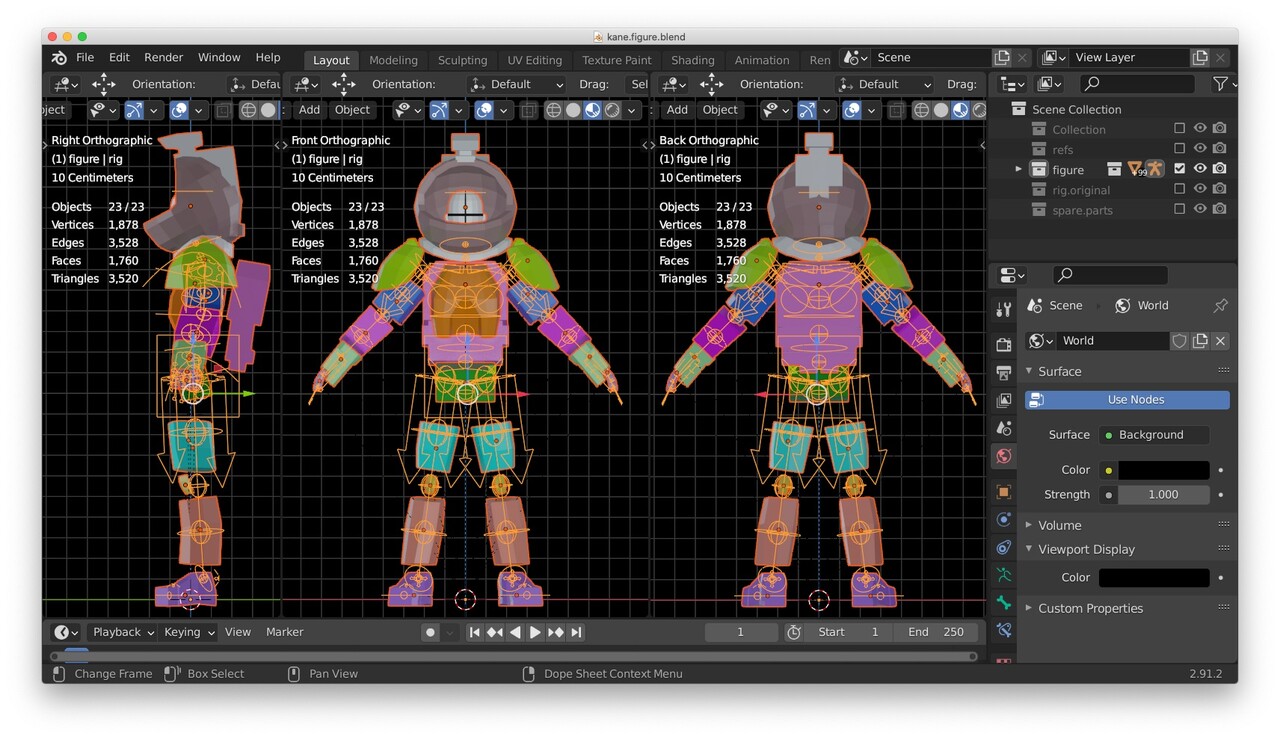
I was able to quickly block in Kane’s spacesuit with simple boxes and created blaster for Princess Leia and the stormtrooper, a belt and holster and a lightsaber for Luke, and a quick hood reference for Obi-Wan.
The next step was to render out the reference figures and create more full realized character sketches in Photoshop from them.
